AI Sketch to Image
Upload or draw a rough sketch, describe the subject, and create a clearer image concept. It is a guide, not exact tracing or a vector file.
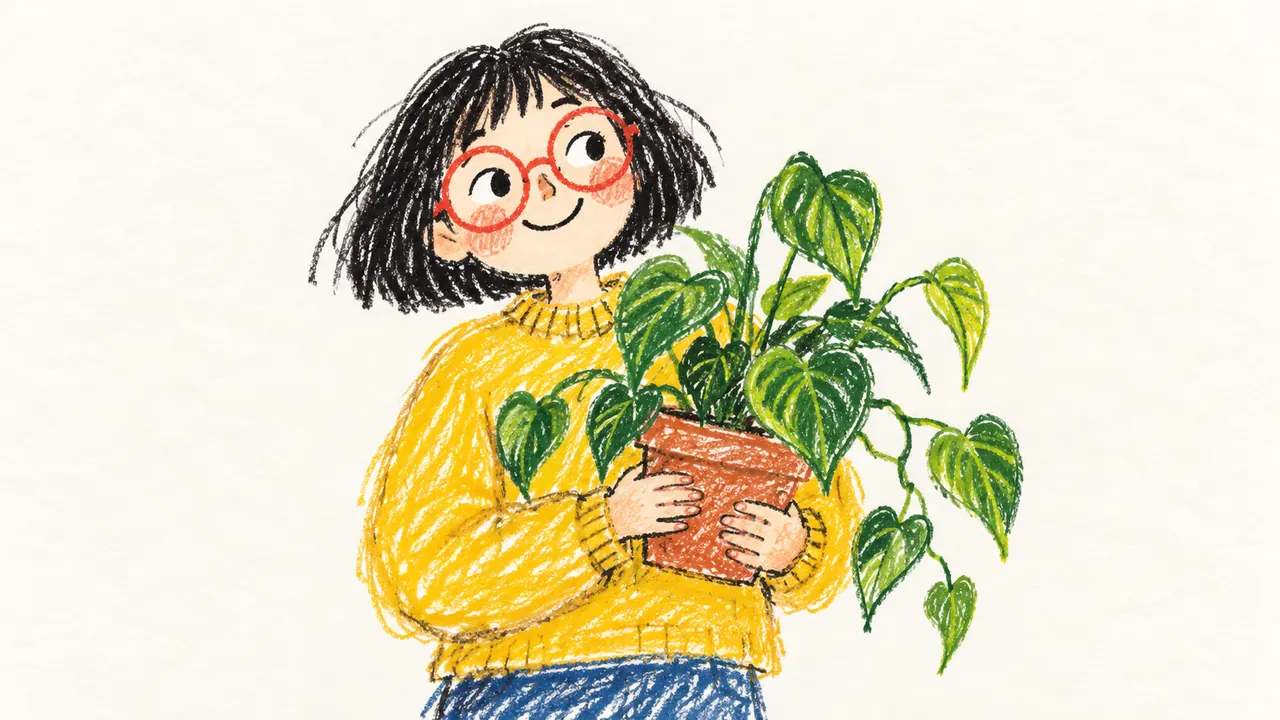

Upload or draw a rough sketch, describe the subject, and create a clearer image concept. It is a guide, not exact tracing or a vector file.

Turn your photos into oil-painting-style images with visible brushstrokes and canvas texture.

Turn ordinary photos into soft watercolour portraits, card designs, wall art concepts or social visuals. Ask for paper texture and flowing pigment edges for a hand-painted look.

Add neon glow effects to photos with vivid colours, luminous edges and a cyberpunk feel.

Give portraits or city photos a neon sci-fi look for game profiles, posters, thumbnails or social posts. Describe futuristic lighting, holographic details and cinematic contrast while keeping the subject clear.
Start with a rough drawing that shows the subject and where it belongs in the frame. Add one short sentence when a line could mean more than one thing. The generator uses the sketch for structure and the description for context, then fills in color, material, light, and background.
A rough layout is often enough to test whether a character, prop, and background share the same frame. It is useful for comic beats, children’s-book ideas, product concepts, and pitch decks. Treat the first output as a visual checkpoint; polish the drawing only after the composition feels right.
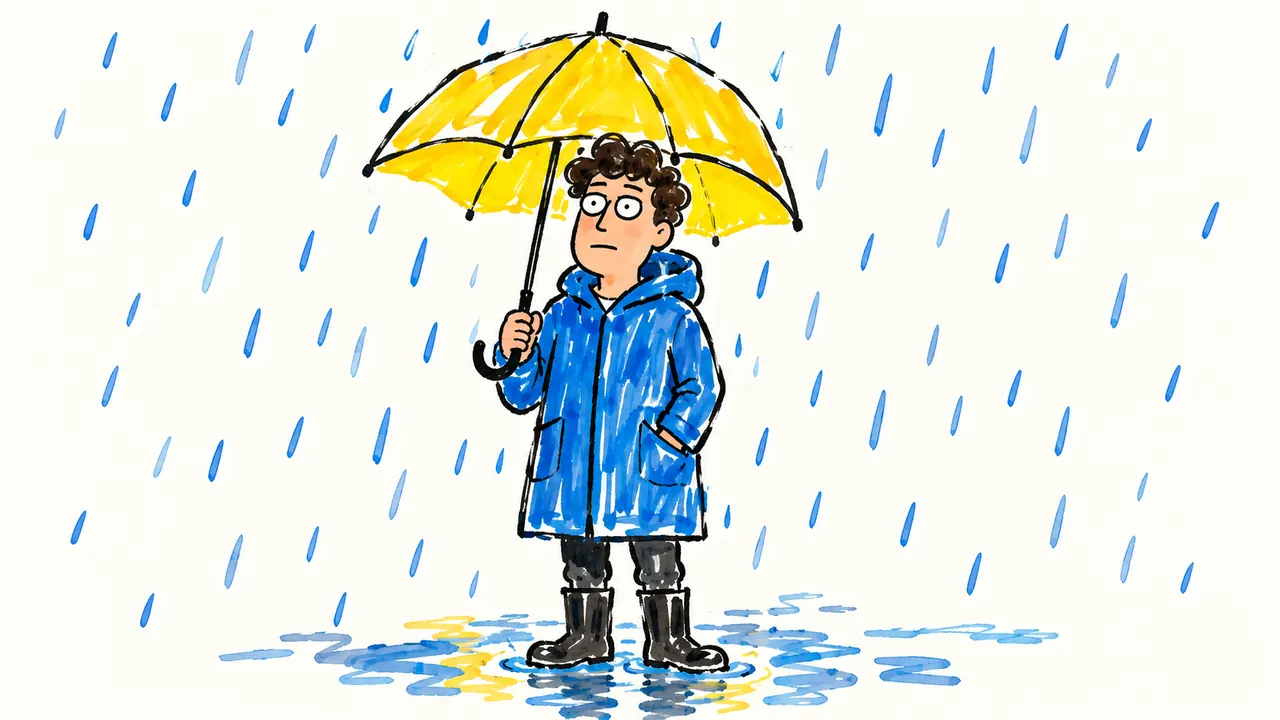
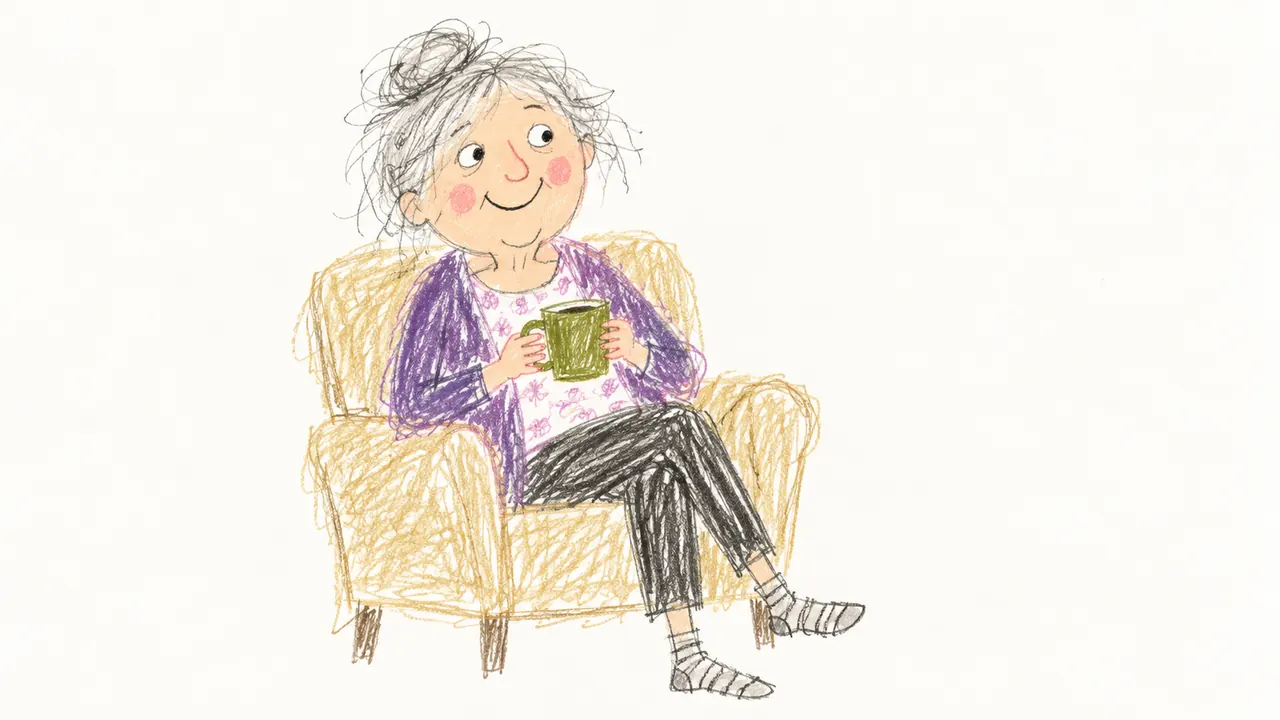
Compare the output with the original sketch before you share it. Look at the main subject, pose, object count, relative scale, and any labels. Sparse lines can be interpreted in unexpected ways, and small text or hands are especially unreliable. If the meaning shifted, add structure to the sketch rather than writing a longer prompt.
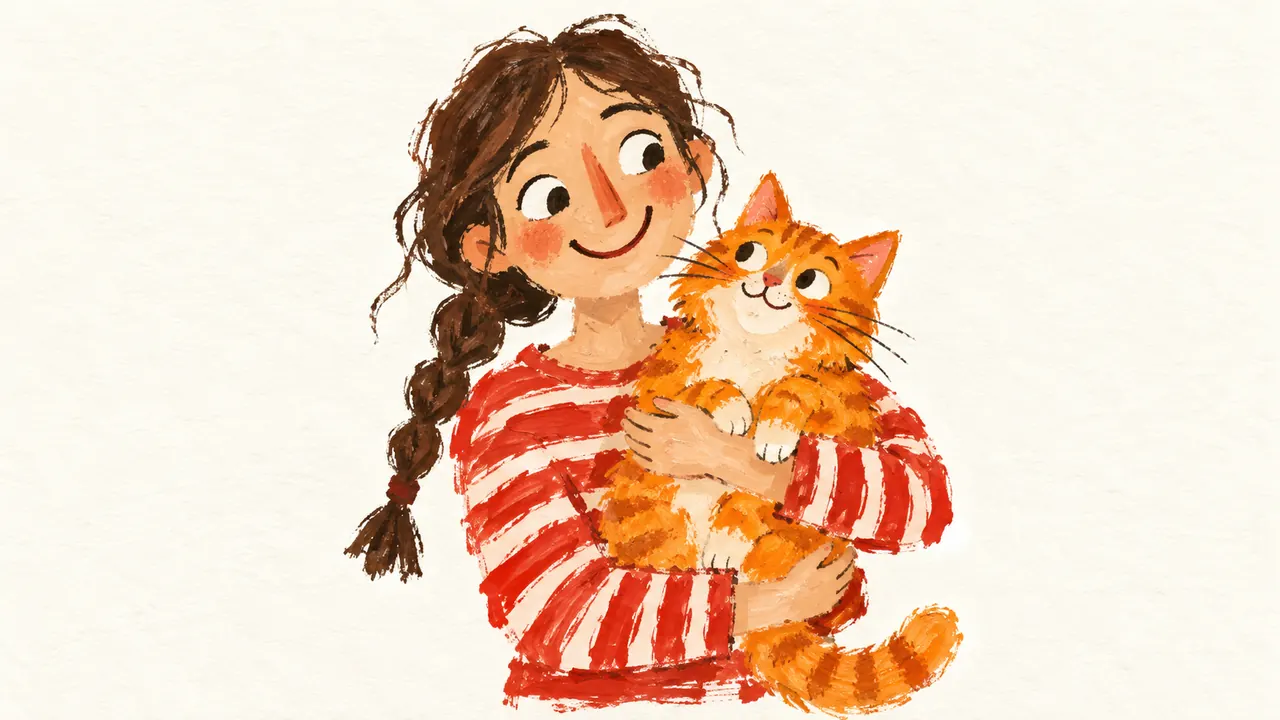
AI sketch to image is strongest when you need a direction quickly. Use the result as a reference for a later illustration, storyboard review, or design brief. Rebuild exact typography, measurements, logos, and critical contours in a separate tool.
GPT Image 2 is an OpenAI image model for generating and editing images. It can render text in multiple languages and ...
Generate and edit images with Nano Banana Pro. Sign-in and account credits are required; review the displayed cost be...

Create videos from text prompts, animate an image or use video input in supported modes. Choose a generation mode and...
Create videos from text prompts or images with Sora 2. Choose from the available options, then review the displayed c...
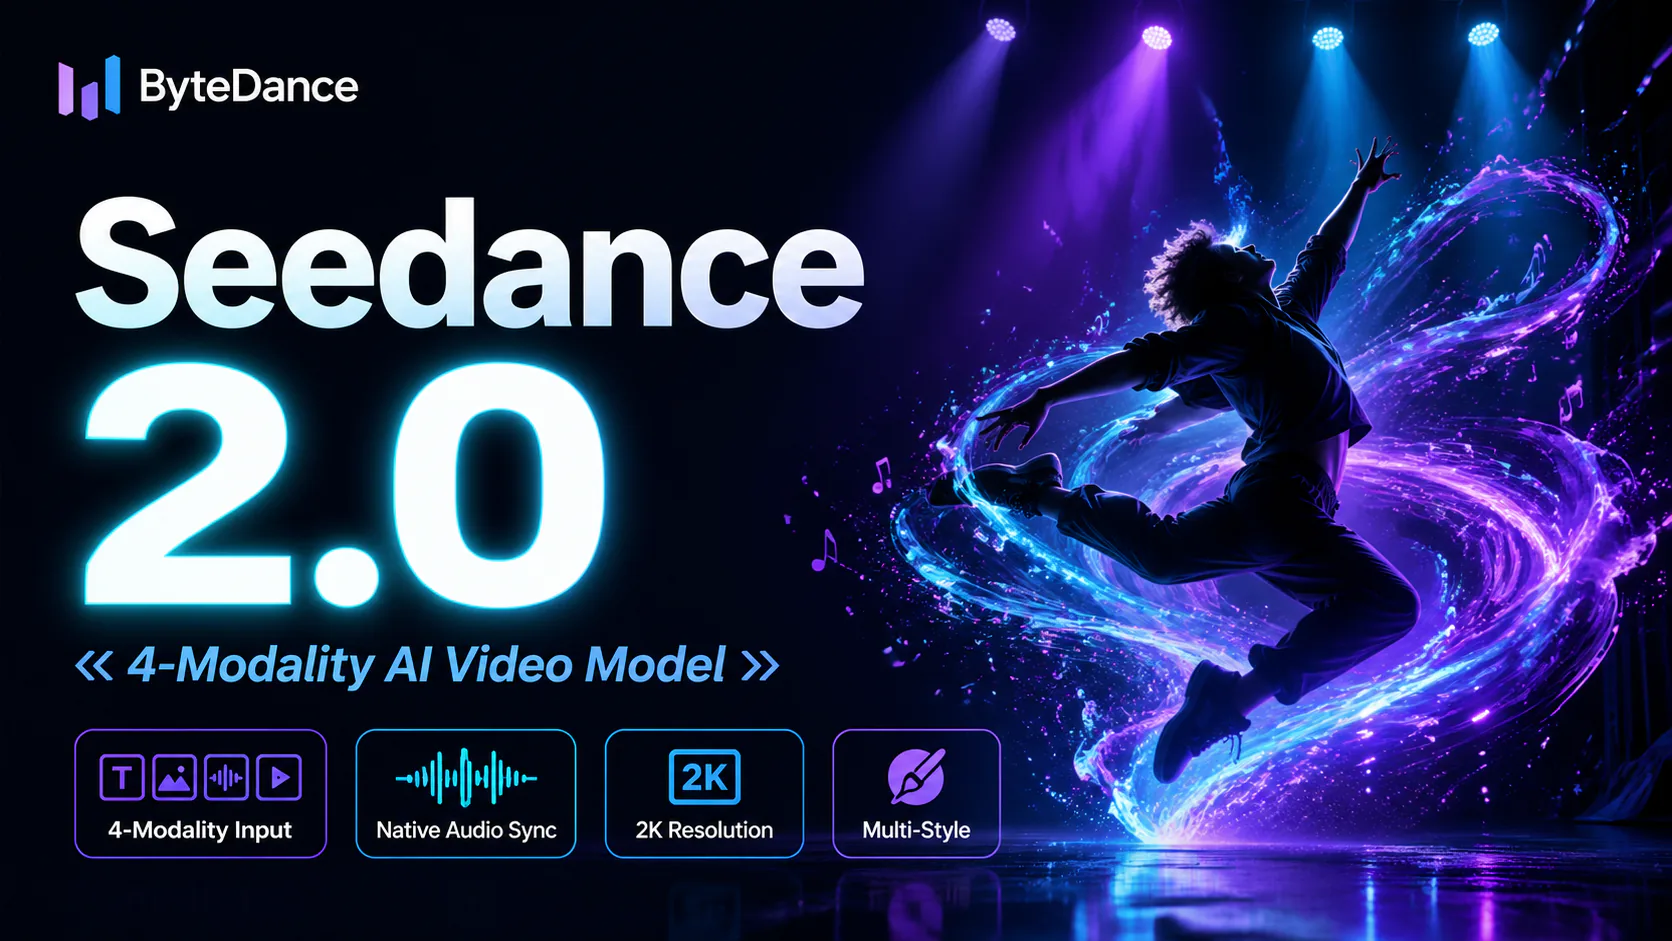
ByteDance's AI video model combines text, images, video clips and audio in one prompt. Use its @-reference system to ...